• LaTeX rarely finishes in one pass. Cross-references need a second run. A bibliography needs BibTeX in between. An index needs makeindex. If you’ve been running these by hand in Terminal — or clicking through a sequence of menu items — this guide sets it up as a single ⌘B.

    Why more than one pass

    A quick refresher, because knowing why makes the command obvious:

    On the first run, LaTeX doesn’t yet know what page Section 3 lands on, so \ref and \cite come out as ??. It writes what it learned into .aux. BibTeX (or makeindex) then reads those files and produces .bbl (or .ind). A second LaTeX run picks those up — and sometimes a third is needed, because inserting the bibliography shifts page numbers, which changes the references again.

    Hence: run, process, run, run.

    The command box

    Open Preferences (⌘,) → Compile. You’ll find one-click templates for the usual engines — xelatex, pdflatex, lualatex, latexmk, BibTeX, makeindex — which is the fastest way to get a working build.

    But the templates only fill in the command box; they don’t lock it. The field itself is fully editable, so you can start from a template and modify it, or ignore them entirely and type your own pipeline from scratch. Anything your shell can run, texspark can run. Steps chain with && — meaning each step runs only if the previous one succeeded, so a failure stops the chain instead of cascading nonsense.

    Two tokens get substituted before the command reaches the shell:

    • {file}main.tex (build target with extension)
    • {filename}main (without extension)

    Both are shell-escaped, so spaces in your path won’t break anything. The command runs in the build target’s directory.

    Recipes

    Bibliography (BibTeX):

    xelatex -synctex=1 {file} && bibtex {filename} && xelatex -synctex=1 {file} && xelatex -synctex=1 {file}

    Note that BibTeX takes {filename} — no extension — while LaTeX takes {file}. Getting this backwards is the single most common mistake here.

    Index (makeindex):

    xelatex -synctex=1 {file} && makeindex {filename} && xelatex -synctex=1 {file}

    Both, for a book:

    xelatex -synctex=1 {file} && bibtex {filename} && makeindex {filename} && xelatex -synctex=1 {file} && xelatex -synctex=1 {file}

    Or let latexmk figure it out:

    latexmk -xelatex -synctex=1 -interaction=nonstopmode {file}

    latexmk decides how many passes are needed and runs BibTeX when appropriate. If your project is standard, this is the least fussy option — and texspark keeps your PDF scroll position through all of latexmk’s rewrites, so a five-pass rebuild doesn’t fling you back to page one.

    Keep -synctex=1

    Every LaTeX invocation in the chain should carry -synctex=1. That’s what produces the .synctex.gz file next to your PDF, which is what makes ⌘⇧↩ and ⌘-click work. Drop it from the final pass and forward/inverse search quietly stops working.

    When a step fails

    The chain stops at the first failure, and the bottom panel switches to Issues automatically. Click any error row to jump to the offending line — in the right sub-file, not just the build target.

    Two things worth knowing:

    • BibTeX errors don’t always surface as LaTeX errors. If your bibliography comes out empty, check the Log tab (next to Terminal and Issues) for BibTeX’s own complaints — a missing .bib entry usually shows up there.
    • If a run leaves things in a strange state, ⌘⇧⌫ sweeps the build directory clean of .aux, .bbl, .ind, .toc, and friends, leaving your .tex and .pdf alone. Then build fresh.

    One target, any chapter

    Worth restating: mark your project root as the build target (⌘⇧P) and this chain runs against it no matter which chapter you’re editing. Multi-pass builds and multi-file projects were the two things that used to make me alt-tab to Terminal. Now they’re one keystroke.


  • If you’re coming from Texmaker — as I did, after ten years — almost everything you know transfers. This guide maps your Texmaker habits to their texspark equivalents, plus the handful of things that work differently (usually: automatically).

    The mental model

    One thing changes: texspark has no “master document” mode. Instead, you mark a tab as the build target (🔨), and it stays the build target across sessions until you clear it. Same idea, less ceremony — you set it once, not once per session.

    Keyboard mapping

    You did this in TexmakerDo this in texspark
    Quick Build (F1)⌘B
    Define Master Document⌘⇧P (or double-click the tab)
    View LogLog tab in the bottom panel (⇧⌘Y toggles)
    Structure panelOutline in the left sidebar
    PDF forward search⌘⇧↩
    PDF inverse search⌘-click
    Clean auxiliary files⌘⇧⌫
    Find / Replace⌘F / ⌘R

    Setting up your existing project

    1. Open your project’s main file — drag it (or the whole folder’s files) onto texspark, or ⌘O
    2. Mark it as the build target: ⌘⇧P or double-click its tab. A 🔨 appears
    3. Pick your build command: Preferences (⌘,) → Compile. If you used Texmaker’s Quick Build with xelatex, choose the xelatex template — or chain steps with && (e.g. xelatex {file} && makeindex {filename} && xelatex {file})
    4. Build: ⌘B from anywhere — any chapter, any sub-file. It always compiles the build target

    That’s the whole migration. Your .tex files don’t change at all.

    What works differently (better, mostly)

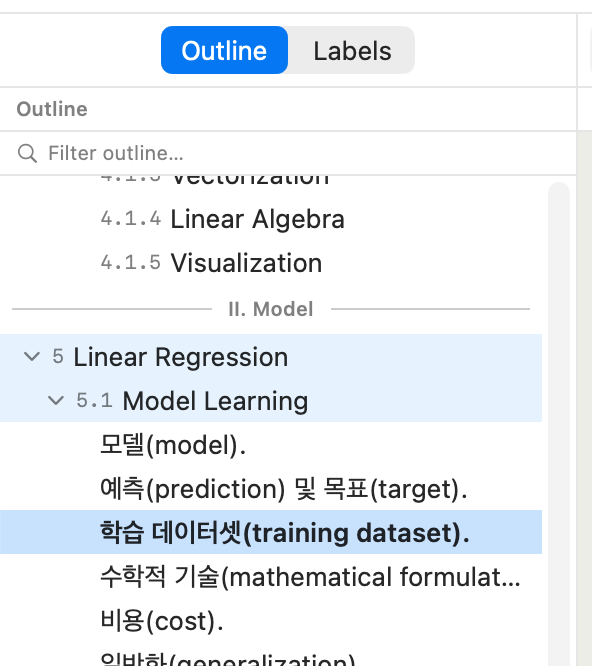
    • The outline covers the whole project. Texmaker’s Structure panel shows each open file separately; texspark’s outline follows every \input/\include from the build target as one tree — including files you haven’t opened
    • Sub-files find their parent. ⌘-click in the PDF into a chapter file, and that chapter’s parent automatically becomes the build target. No re-declaring
    • Sessions restore completely — tabs, cursor positions, the build target, panel layout. Quit and relaunch mid-thesis without ceremony
    • No built-in \paragraph limit. The outline goes all the way down (I patched Texmaker’s source once to get \paragraph support; here it just works)

    What Texmaker has that texspark doesn’t

    Honesty section: Texmaker is free, runs on Windows and Linux, and has years of maturity. If you work across platforms, keep it — your files are identical either way, so you can even use both.

    Try it with your real project

    The 14-day trial is the full app — open your actual thesis or book, set the build target, and see if ⌘B from chapter 4 feels as good as I think it does. texspark.io/download